Leads
A lead is someone who might present a new business opportunity. A lead does not belong to an account.
User permission: CRM
During your Phocas implementation, we often import your Contacts and Leads as a one-time process. However, you might want to re-import these items occasionally, for example, to update custom fields in bulk. You can’t do this task yourself, but you can contact your Customer Success Consultant to arrange for our Professional Services team to do it for you.
A lead does not belong to an account. A lead is different to a contact.
View a list of all leads
Select the CRM menu button > Leads.
The Leads page displays all leads you have permission to view. From here, you can add new leads, or convert or delete existing ones.
On the Leads page, the convert and delete options are available only in the desktop version. To convert leads in the mobile-friendly version, you need to access the individual lead's details.


Find a lead
On the Leads page, you can find a particular lead using the filter and search options, or by sorting the list.

Active filter: Switch between active and inactive leads.
Company filter: Show leads from a specific company.
Job Title filter: Show leads with a specific job title.
Owner filter: Show only your leads or those owned by another user (with the appropriate permissions).
Team filter: Show leads assigned to one of your teams.
Search box: Find a lead by name (uses is like matching on the columns in the grid).
Column headings: Click to sort data in ascending or descending order.
Filters remain active until you turn them off, so if you apply a filter and move away from the screen and then return, the filter will remain. To clear any filter you have applied, choose Select none from the dropdown list.
Use the Active filter to switch between viewing active and inactive leads in the list.
Use the Owner filter to display only your leads or leads that belong to another user (that you have permissions to view).
Use the Team filter to display leads allocated to a specific team to which you belong.
Use the Search box to search for a specific lead by name. This performs an is like search on the name column.
Click a column heading to sort data into ascending or descending order.
Filters remain active until you turn them off, so if you apply a filter and move away from the screen and then return, the filter will remain. To clear any filter you have applied, select All from the dropdown list.
To find the lead you require, type your search term into the box, such as a name or company, and any matching results will instantly be displayed.
Add a lead
On the Leads page, select the Add lead button (blue plus).

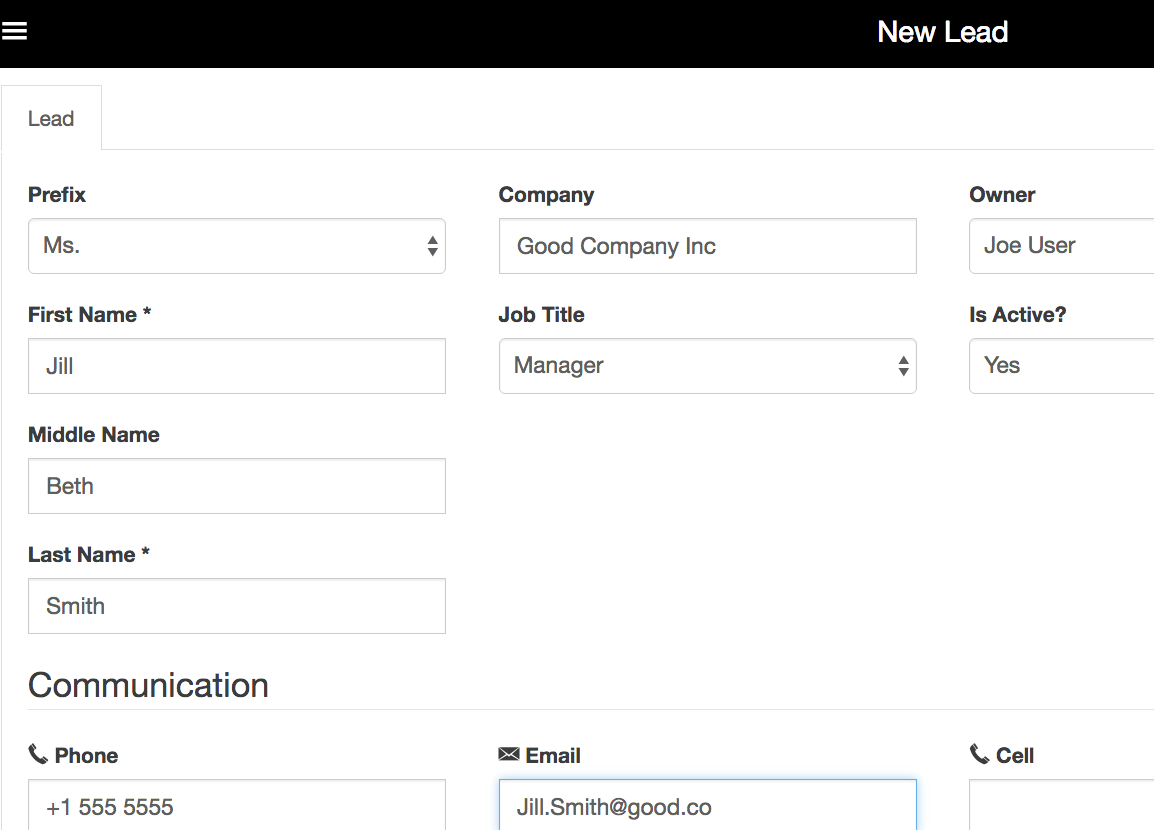
Enter the lead’s details as required (items marked with an asterisk * are mandatory). See the standard lead details table below to learn more about each item (field).

After completing the mandatory fields, select Save. This activates the Activities tab, where you can add activities to the lead's record.
Select Close to return to the main Leads page.
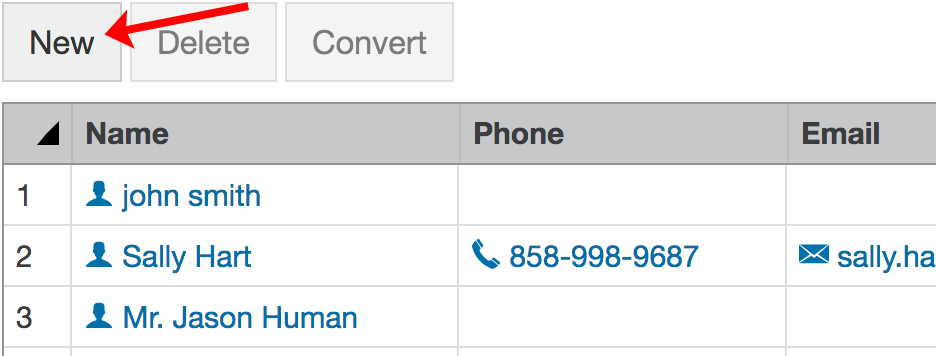
On the Leads screen, click New.

Enter the lead’s details as required (items marked with an asterisk * are mandatory). See the standard leads details table below to learn more about each item (field).

Click Save. If successful a new tab displays, allowing you to add activities to the campaign. You can come back to this tab later.
Click Close.

On the Leads page, select the Add lead button (blue plus).
Enter the lead’s details as required (items marked with an asterisk * are mandatory). See the standard lead details table below to learn more about each item (field).
After completing the mandatory fields, select Save.
Select Close to return to the main Leads page. When you select the newly created lead, you can now add activities to the lead's record by selecting the Add activity button.
Standard lead details:
Prefix
Dropdown list
The salutation of the lead. Choose from Dr, Mr, Mrs, Miss, Ms, Prof.
First Name
Free text
The first name of the lead. This field is mandatory.
Middle Name
Free text
Middle name (or initial) of the lead.
Last Name
Free text
Surname of the lead. This field is mandatory.
Company
Free text
Can be used to indicate which company the lead represents. Typically when a lead is converted, this would be the account field.
Job Title
Dropdown list
Typically this field will indicate the lead's area of responsibility, rather than their exact job title. For example, the job title of Northern Region Sales Executive could be simply recorded as Sales.
This is a customizable field that can be edited by administrators using picklists.
Owner
Dropdown list
May be used to identify the person who normally looks after this lead. Owners are CRM users.
Is Active
Y/N
Active leads typically include people who are potentially doing business with you. Inactive leads might no longer present an opportunity for future business. Rather than delete the entire lead and all the associated activities, it is often better to mark these leads as inactive.
Phone
Free text
Direct (landline) phone number of the lead.
Fax
Free text
Direct fax number of the lead.
Free text
Email address of the lead.
Website
Free text
Typically the website of the lead's company
Cell
Free text
Cell phone (mobile phone) number of the lead.
Contact Method
Dropdown list
Typically used to record the way that particular person prefers to be contacted – e.g. via phone or email. This is a customizable field that can be edited by administrators using picklists.
Street/city
Free text
Street address and city of the lead.
State
Free text
State in which the lead is based, if applicable.
Postcode
Free text
Zip or Postcode of the lead.
Country
Free text
Country the lead is located in.
Is Mail Address
Y/N
Choose ‘Yes’ if the mail address is the same as the street address. Choose ‘No’ if the mail address is different, and enter in the details in the section below.
Street/city
Free text
Postal street address (or PO box) and city of the lead.
State
Free text
Postal state of the lead, if applicable.
Postcode
Free text
Postal Zip or Postcode of the lead.
Country
Free text
Postal country the lead is located in.
Custom
Any field not listed in this table is a custom field. Administrators can create custom fields, typically from data that already exists in your ERP or other systems.
View and edit a lead
On the Leads page, select the lead name (blue link) to open the lead record.
On the lead record:
Lead tab: View and edit the lead’s details, such as its name, owner, and address, and assign the lead to another owner (CRM user responsible for communicating with that lead).
Activities tab: View and edit the activities assigned to the campaign, or delete (remove) activities from the campaign.
Select Save to apply your changes, then Close to return to the main Leads page.
On the Leads page, select a lead name to open its record.
Lead details tab – View and edit details such as name, owner, and address. Reassign the lead to another owner (the CRM user responsible for communication). Add activities or take direct actions, such as calling, messaging, or emailing the contact.
Activities tab – Add new activities, or view and edit existing ones linked to the lead.
Select Save to apply your changes, then Close to exit. To return to the main Leads page, select the back button (<).

Convert a lead into a contact
Typically, when the lead becomes a customer, you can convert the lead records into contacts. Contacts, unlike leads, cannot exist in isolation in CRM and must be assigned to an account.
When you convert a lead to a contact, the lead disappears from the list on the Leads screen and displays in the list on the Contacts screen instead. Any activities assigned to the lead are retained.
Prerequisite: Check the account is in CRM. If not, add a new account.
On the Leads page, select the menu button (three dots) at the end of the contact’s row, then choose Convert. Alternatively, select the lead name (blue link) to open the lead record.

On the Lead tab, select the Convert button.
Select the account you wish to add the lead to, and select Save.

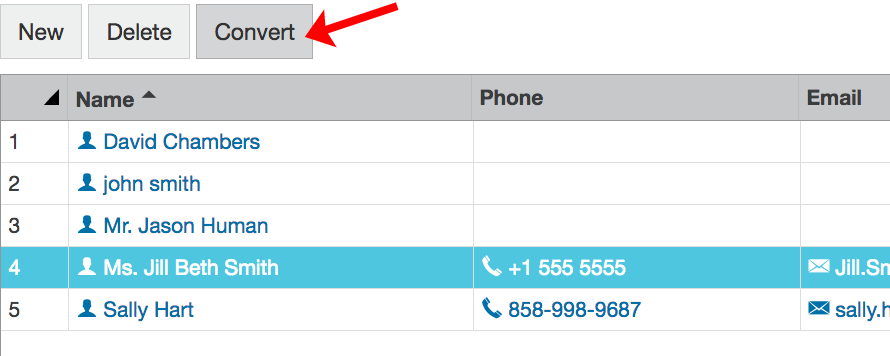
On the Leads screen, select the lead row (it turns blue) and click Convert.

Select the appropriate account and click Save.
On the Leads page, select a lead name to open its record.
On the Lead tab, select Convert.
Choose the account to add the lead to, then select Convert.
The lead is now converted into a contact. To locate the contact, select Contacts at the bottom of the screen to navigate to the Contacts page and scroll or search by name.

Delete a lead
Leads can only be deleted in the desktop version of CRM.
If you do not have delete permissions, the Delete button might not display or you might see a message at the top of the screen indicating you do not have permission to delete. Talk to your administrator about your permissions. Deleted items can be restored by administrators.
On the Leads page, select the menu button (three dots) at the end of the contact’s row, then choose Delete.

Last updated
